Follow this guide to set up your Google Tag Manager, through which you can connect Facebook Pixel or Analytics, for example.
The events you can track from YOGO are:
- Purchase started (paymentStarted)
- Purchase completed (paymentCompleted)
- Ability to see what was purchased and the total, which can be set up with data layer variables:
transactionProducts.price
transactionProducts
transactionTotal
userEmail
YOGO does not support setup from Google Tag Manager onwards, as there are many different ways to do this.
Before you begin
- Create a Google Tag Manager account at tagmanager.google.com
- Go to YOGO admin -> Settings ->Google Tag Manager and input your GTM ID.
- Press save
- Log in to tagmanager.google.com
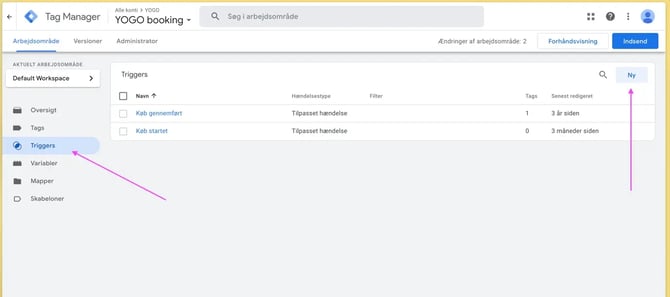
Triggers
- Go to 'Triggers' and click 'New'
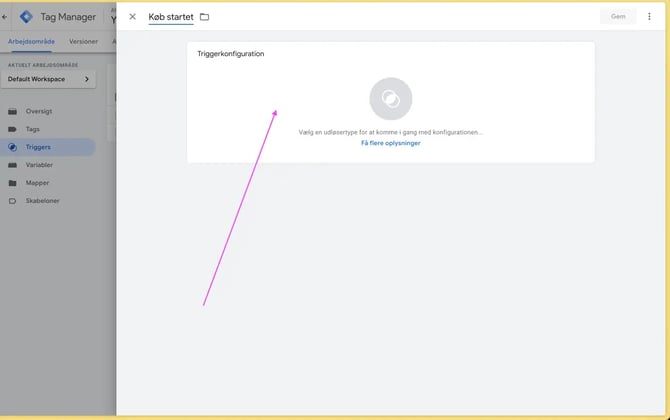
Name the first trigger, for example, 'Purchase started' and click 'Trigger Configuration'
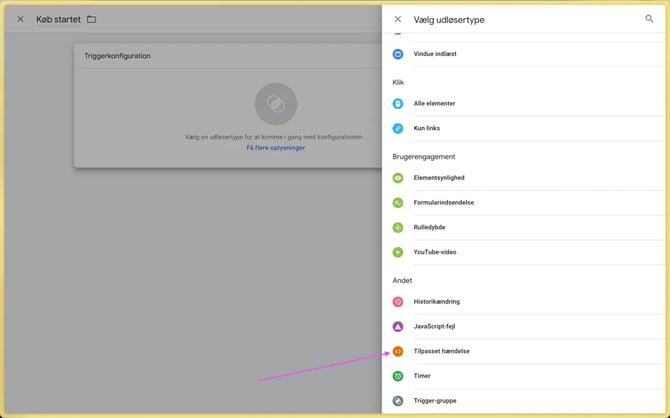
Select 'Custom Event'
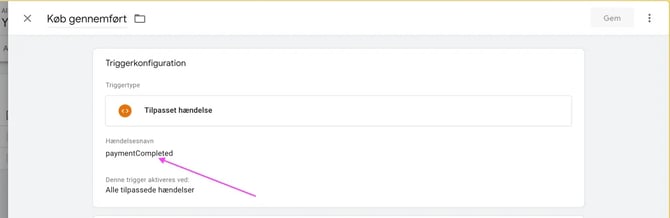
In 'Event name', enter paymentStarted and click 'Save'
Create another trigger, for example named 'Purchase completed' and again select 'Custom Event', where you instead add paymentCompleted in the input field
Tags
Now go to 'Tags' and click 'New'
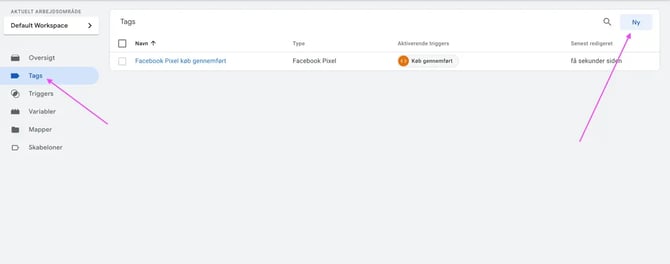
Name it, for example, 'FB pixel purchase started'
On the right, click 'Discover more tag types in Community Template Gallery'
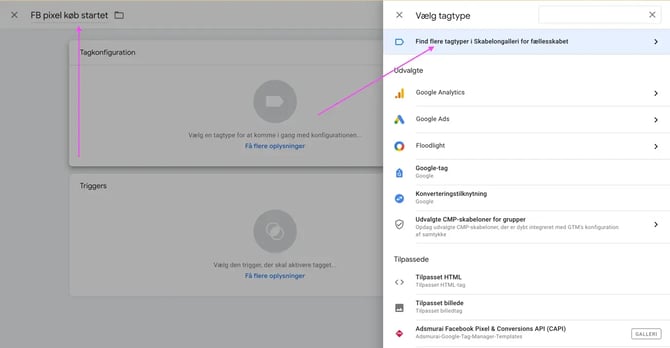
In the search field, search for 'facebook' and then select 'Facebook Pixel'

Click 'Add to workspace' and then 'Add'
- Insert your Facebook Pixel ID and then select InitiateCheckout in the 'Event name' field
- Then click on the box below called 'Triggers' and select the trigger that was previously set up (Purchase started) and then click 'Save'
- Click 'New' again and give it the name, for example, 'FB pixel purchase completed'
- Click 'Tag Configuration' and select 'Facebook Pixel'
- Insert your Facebook Pixel ID in the input field, and for 'Event Name' select Purchase
- Click 'Object Properties' and 'Add property' three times to create three rows. Fill in with the following:
| Property Name | Property Value |
| value | {{transactionTotal}} |
| contents | {{transactionProducts}} |
| currency | DKK |
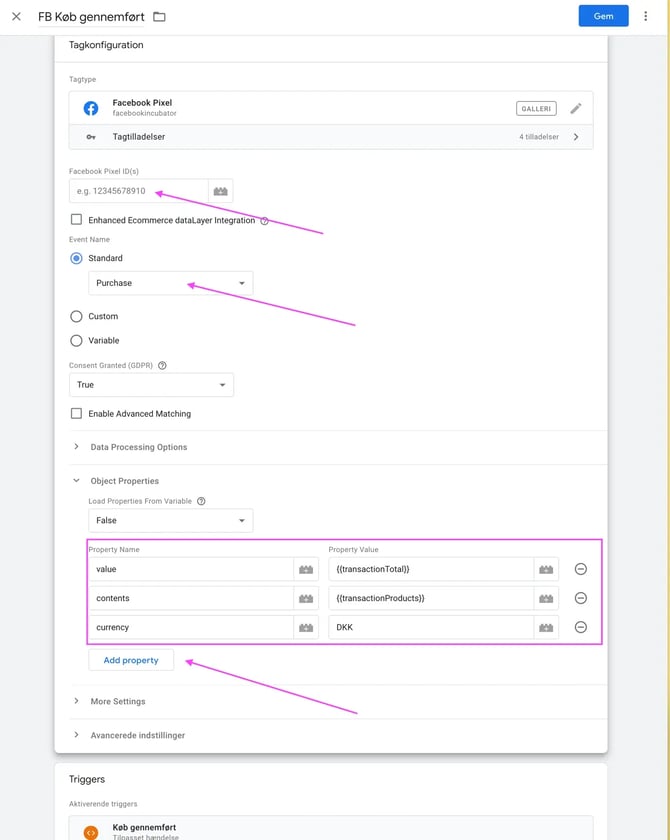
For 'Triggers', click the box and select the trigger previously created called 'Purchase completed'
Variables
- Go to 'Variables' in the menu and scroll down to 'User-Defined Variables'. Click 'New'
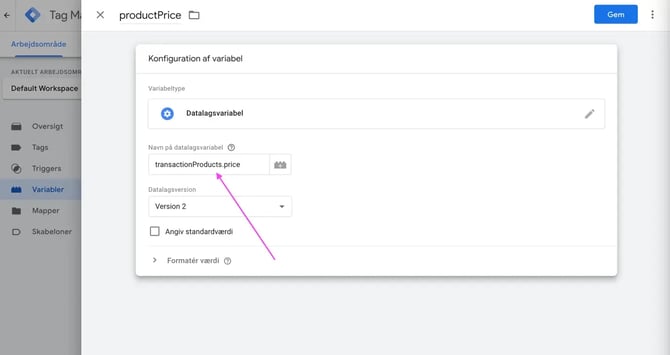
- Give the first one the name 'productPrice'
- Click 'Variable Configuration' and select 'Data Layer Variable'
- In 'Data Layer Variable Name' insert transactionProducts.price
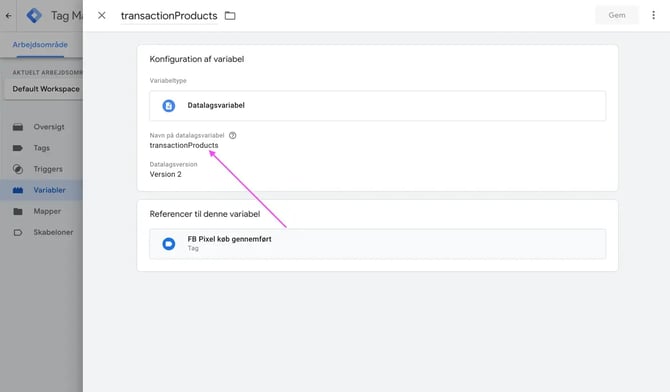
- Create another user-defined variable and name it 'transactionProducts'
- Select 'Data Layer Variable' again. For 'Data Layer Variable Name' insert transactionProducts
Select 'Data Layer Variable' again. For 'Data Layer Variable Name' insert transactionTotal
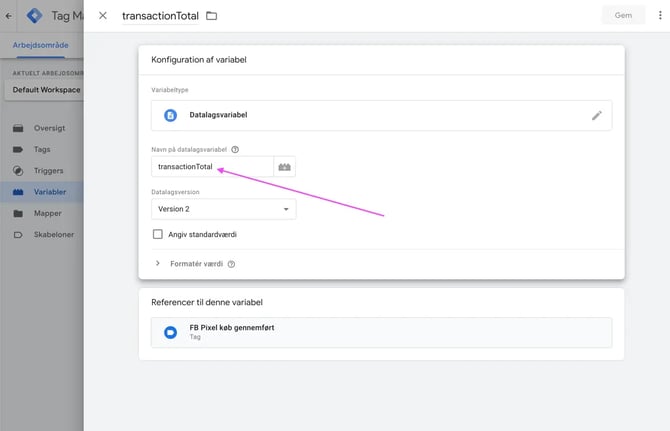
Click 'Save'
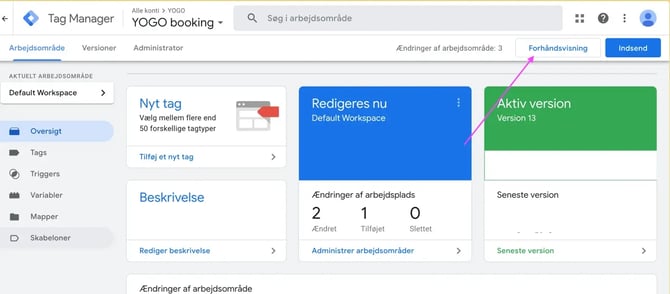
Test the integration
Click 'Preview'
Enter your YOGO customer URL, for example, https://xxxx.yogobooking.com (replace xxxx with your studio name) and then click 'Connect'
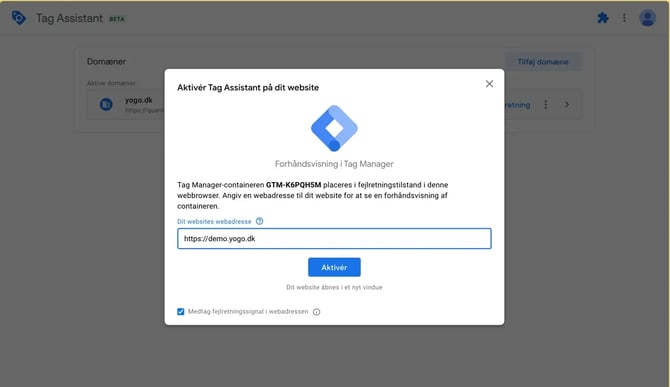
- A new browser window will now open with the customer portal.
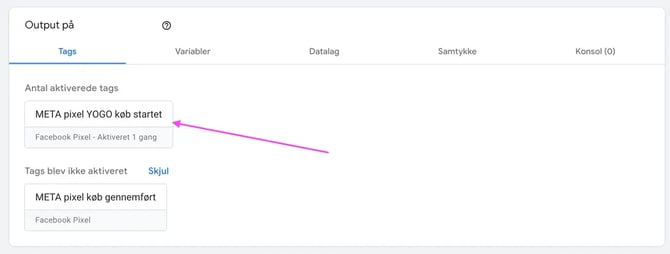
- Log in and go to 'Prices', add something to the cart and go to checkout and click 'Continue to payment'. After clicking, you can return to the overview from the GTM window. If the box with 'Purchase started' has been triggered and is in 'Tags Fired', then it's working
Go back to the main page in GTM and click 'Submit'

You are now ready to track purchases from YOGO via Facebook (META) Pixel 🥳