How to enable check in for events
- Go to Admin → settings → Check-in
You can choose to enable check-in for events and classes

How to check in
Check-in for events can be done from three different platforms in YOGO:
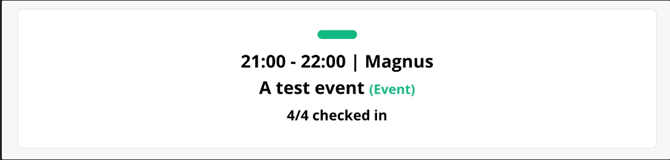
The check-in module:
Attendees find their own name and check in on the tablet or screen placed at the entrance of the studio.
The teacher module:
Teachers can check in attendees from their phone directly during the event.
The Admin module:
As an admin, you can check in customers manually, see attendance status in the calendar, and will automatically be prompted to confirm check-in when signing a customer up.
Customers with multiple seats
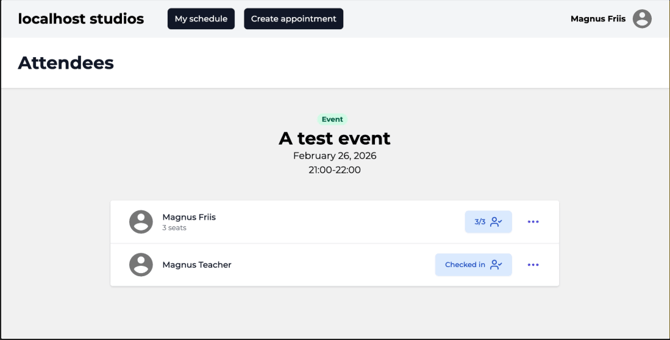
If a customer purchases multiple seats for the same event, each seat is tracked individually at check-in. This means you can always see exactly how many of the booked seats have shown up, for example 2 out of 3.
The Check-in overview in Admin
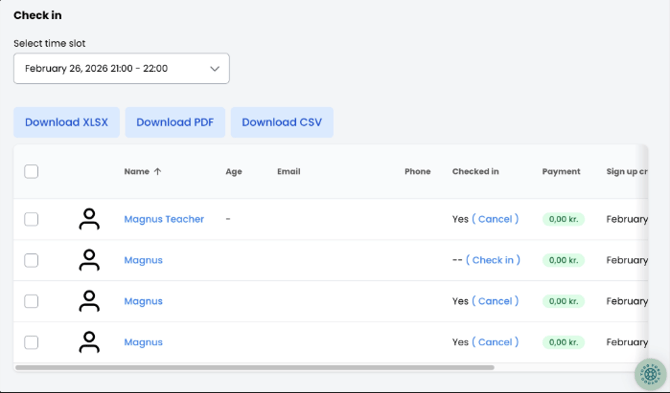
During an event, you'll find the check-in overview in the admin panel. Here you can see all registered attendees and easily check in or undo a check-in with a single click. If the event has multiple time slots, simply select the relevant one from the dropdown at the top.
You can also download the full attendee list as XLSX, PDF or CSV.